






Aug 03,2026
DIY Tips for Modifying Your Flying Drone Motors for Enhanced Performance
DIY Tips for Modifying Your Flying Drone Motors for Enhanced Performance Table of Contents 1. Understanding Drone Motors: The Heart of Your Flying Machine 2. The Importance of Modifying Drone Motors for Performance 3. Essential Tools for Motor Modification 4. Step-by-Step Guide to Modifying Your Drone Motors 4.1 Upgrading Windings for Increased Efficiency 4.2 Replacing Bearings for Smoother Operat
DIY Tips for Modifying Your Flying Drone Motors for Enhanced Performance
Table of Contents
1. Understanding Drone Motors: The Heart of Your Flying Machine
2. The Importance of Modifying Drone Motors for Performance
3. Essential Tools for Motor Modification
4. Step-by-Step Guide to Modifying Your Drone Motors
4.1 Upgrading Windings for Increased Efficiency
4.2 Replacing Bearings for Smoother Operation
4.3 Adjusting the ESC (Electronic Speed Controller)
5. Testing Your Modified Drone Motors
6. Common Mistakes to Avoid When Modifying Drone Motors
7. FAQs About Drone Motor Modifications
8. Conclusion: Elevate Your Drone Experience
1. Understanding Drone Motors: The Heart of Your Flying Machine
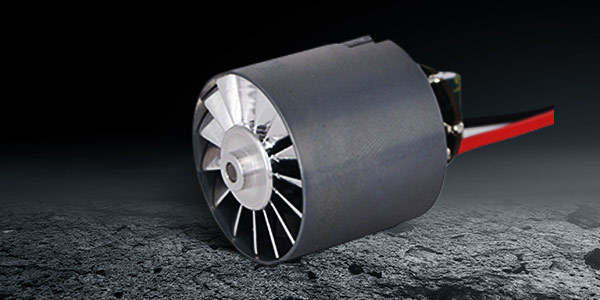
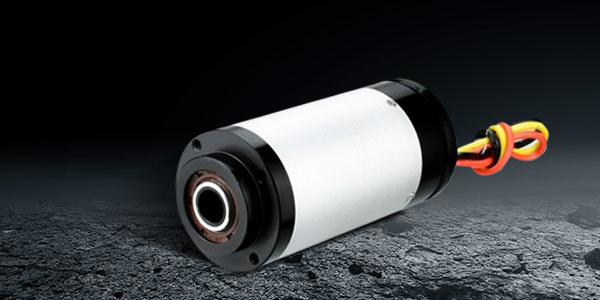
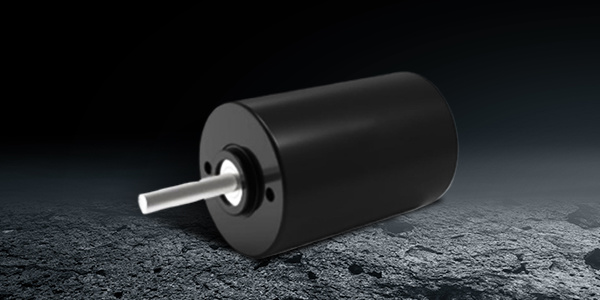
Drone motors are crucial components that determine the performance and efficiency of your flying machine. These motors convert electrical energy into mechanical energy, propelling the drone through the air. Understanding the types and specifications of drone motors helps enthusiasts tailor modifications to improve performance.
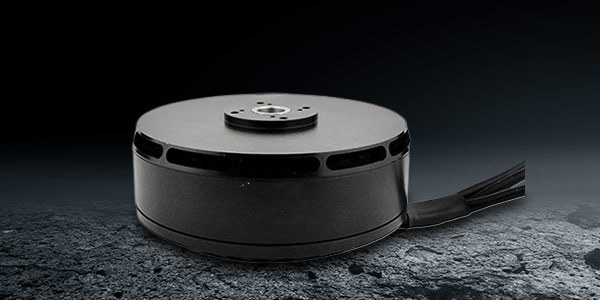
There are two primary types of motors used in drones: brushed and brushless. Brushed motors are generally more affordable and easier to control, but they have shorter lifespans and lower efficiency. Brushless motors, on the other hand, provide higher efficiency, greater lifespan, and improved performance, making them the preferred choice for most drone enthusiasts.
2. The Importance of Modifying Drone Motors for Performance
Modifying drone motors is essential for several reasons. First, it significantly enhances performance, allowing for faster speeds, improved flight stability, and increased responsiveness to control inputs. Second, modifications can lead to better energy efficiency, which translates to longer flight times. Lastly, upgrading motors can also extend the lifespan of your drone by reducing wear and tear on components.
By understanding the key areas to focus on during motor modifications, drone enthusiasts can unlock enhanced capabilities and enjoy a more thrilling flying experience.
3. Essential Tools for Motor Modification
Before diving into motor modifications, it’s important to gather the right tools. Here’s a list of essential tools you’ll need for the job:
- **Soldering Iron**: For making electrical connections and upgrading wiring.
- **Multimeter**: To measure voltage, current, and resistance, ensuring your modifications are safe and effective.
- **Screwdrivers**: Various sizes for disassembling and reassembling your drone motors.
- **Heat Shrink Tubing**: To protect soldered connections from short circuits.
- **Lubricants**: To ensure smooth operation of motors after modifications.
- **Wire Cutters/Strippers**: For cutting and preparing wires for soldering.
- **Tweezers**: Handy for handling small components.
Having these tools on hand will make the modification process smoother and more efficient.
4. Step-by-Step Guide to Modifying Your Drone Motors
Now, let’s delve into the specifics of modifying your drone motors for better performance. Here’s a step-by-step guide to help you through the process.
4.1 Upgrading Windings for Increased Efficiency
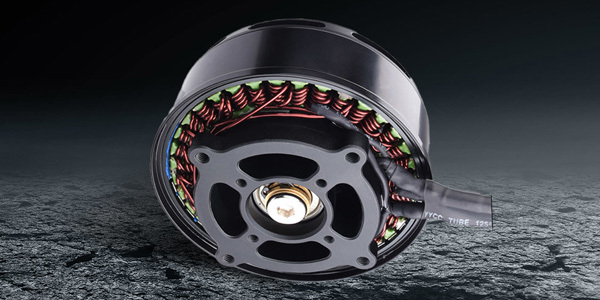
One of the most effective ways to enhance the performance of your drone motors is by upgrading the windings. This involves replacing the existing wire with a higher gauge wire that can handle more current without overheating. Here’s how to do it:
1. **Disassemble the Motor**: Carefully remove the motor casing using your screwdrivers.
2. **Remove the Old Windings**: Take note of the winding configuration before dismantling. Carefully cut the old wire and remove it.
3. **Install New Windings**: Use a higher gauge wire (like 30-32 AWG) to create new windings. Ensure to follow the original configuration for optimal performance.
4. **Reconnect and Seal**: Secure all connections with solder and protect them with heat shrink tubing.
Upgrading the windings increases efficiency, allowing the motor to draw more power and improve overall performance.
4.2 Replacing Bearings for Smoother Operation
The quality of bearings in your drone motors can significantly affect performance. Replacing old or worn-out bearings can lead to smoother operation and improved efficiency.
1. **Access the Bearings**: Open the motor casing and carefully remove the rotor to expose the bearings.
2. **Remove Old Bearings**: Use a bearing puller or appropriate tool to extract the old bearings from their housing.
3. **Install New Bearings**: Place high-quality, low-friction bearings into the housing, ensuring they fit snugly.
4. **Reassemble the Motor**: Put the rotor back in place, ensuring everything is aligned correctly before sealing the casing.
New bearings reduce friction, allowing the motor to operate more smoothly and efficiently, which can lead to better overall performance.
4.3 Adjusting the ESC (Electronic Speed Controller)
The ESC plays a crucial role in how your drone motors perform. Tweaking the settings can enhance motor responsiveness and overall flight characteristics.
1. **Connect to a Computer**: Use a programming card or connect the ESC to a computer via USB.
2. **Adjust Parameters**: Modify settings such as throttle response, brake strength, and timing to suit your flying style and needs.
3. **Test and Tweak**: After adjustments, test your drone in a safe environment. Fine-tune the settings based on performance.
Improving your ESC settings can lead to a significant boost in how your drone handles in the air.
5. Testing Your Modified Drone Motors
After making modifications, it’s essential to test your drone to ensure everything is working as expected. Here’s how to do it safely:
1. **Initial Ground Test**: Power up the drone without taking off. Listen for any unusual noises and check for vibrations.
2. **Check Connections**: Ensure all soldered connections are secure and that there are no exposed wires.
3. **Short Hover Test**: Conduct a short hover to see how the drone responds to controls, monitoring for stability and performance.
4. **Full Flight Test**: After successful hover tests, take your drone for a full flight. Pay attention to responsiveness, flight time, and overall behavior.
Testing is a crucial step to ensure that your modifications have been successful and that your drone is safe to operate.
6. Common Mistakes to Avoid When Modifying Drone Motors
While modifying drone motors can be rewarding, there are common pitfalls that enthusiasts often encounter. Here are a few mistakes to avoid:
- **Overheating**: Ensure that the modifications do not cause the motor to overheat, which can lead to damage. Always monitor temperatures during testing.
- **Poor Soldering**: Inadequate connections can lead to performance issues or even motor failure. Take your time to solder connections properly.
- **Ignoring Manufacturer Specifications**: Straying too far from manufacturer recommendations can lead to compatibility issues. Always consult your drone’s specifications.
- **Neglecting Calibration**: After modifications, failing to recalibrate your ESC can result in poor performance. Always recalibrate after making changes.
- **Skipping Testing**: Testing is vital. Skipping this step can lead to unexpected malfunctions during flight.
By being aware of these mistakes, you can ensure a smoother modification process and better results.
7. FAQs About Drone Motor Modifications
Q1: Can I modify brushed motors like brushless motors?
A1: Brushed motors are generally less efficient than brushless motors, and while some modifications can be made, the benefits are often limited. Brushless motors are recommended for significant performance upgrades.
Q2: Will modifying my drone motors void the warranty?
A2: Modifications typically void warranties. Always check with the manufacturer before making any changes to ensure you understand the implications.
Q3: How do I know if my modifications are successful?
A3: Successful modifications should result in improved flight performance, such as increased speed, better stability, and longer flight time. Testing is crucial to assess the outcomes.
Q4: What safety precautions should I take when modifying motors?
A4: Always wear safety goggles, work in a well-ventilated area, and ensure your drone is powered off while making modifications. Be cautious with tools and electrical components.
Q5: How often should I maintain my modified drone motors?
A5: Regular maintenance is recommended. Check the motors after every few flights for wear and tear, and clean any debris. Regular lubrication of bearings can also prolong motor life.
8. Conclusion: Elevate Your Drone Experience
Modifying your flying drone motors is an excellent way to enhance performance, increase efficiency, and elevate your overall drone experience. By understanding the mechanics behind your drone motors and applying the tips outlined in this comprehensive guide, you can achieve remarkable improvements in flight capabilities.
From upgrading windings and bearings to fine-tuning your ESC, each modification can contribute to a more responsive and enjoyable flying experience. Remember to approach these modifications with care, avoiding common pitfalls, and always ensure safety during the process.
With dedication and the right tools, transforming your drone into a high-performance flying machine is within reach. Take your skills to the next level, and enjoy the exhilarating world of drone flying!
Previous: Understanding Brushless Motors in Flying Drones: A Key to Enhanced Performance
Next: The Transformative Role of Drones in Electrical Engineering


Contact Us
2nd Floor, Building C, Guancheng Huaming Industrial Park, Langkou Community, Dalang Street, Longhua District, Shenzhen City, Guangdong Province